Updated on 2/1/15, Originally posted on 1/2/11
Bible Verse: ERV Psalm 91:4 You can go to Him for protection. He will cover you like a bird spreading its wings over its babies. You can trust Him to surround and protect you like a shield.
Info on Chicks:
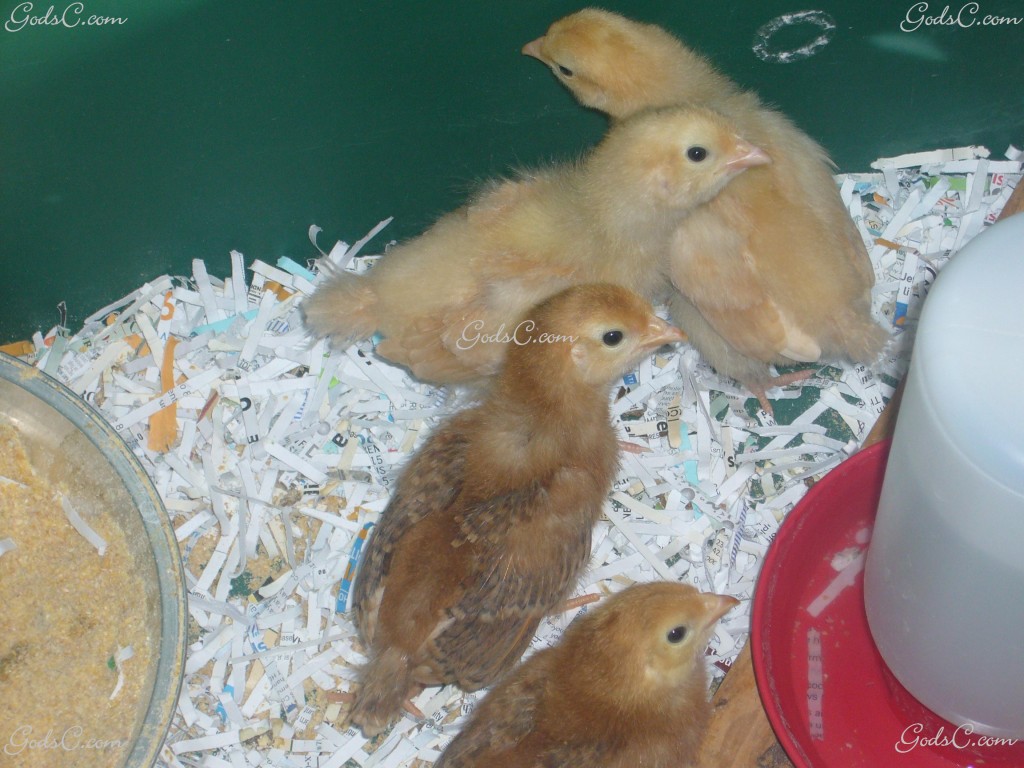
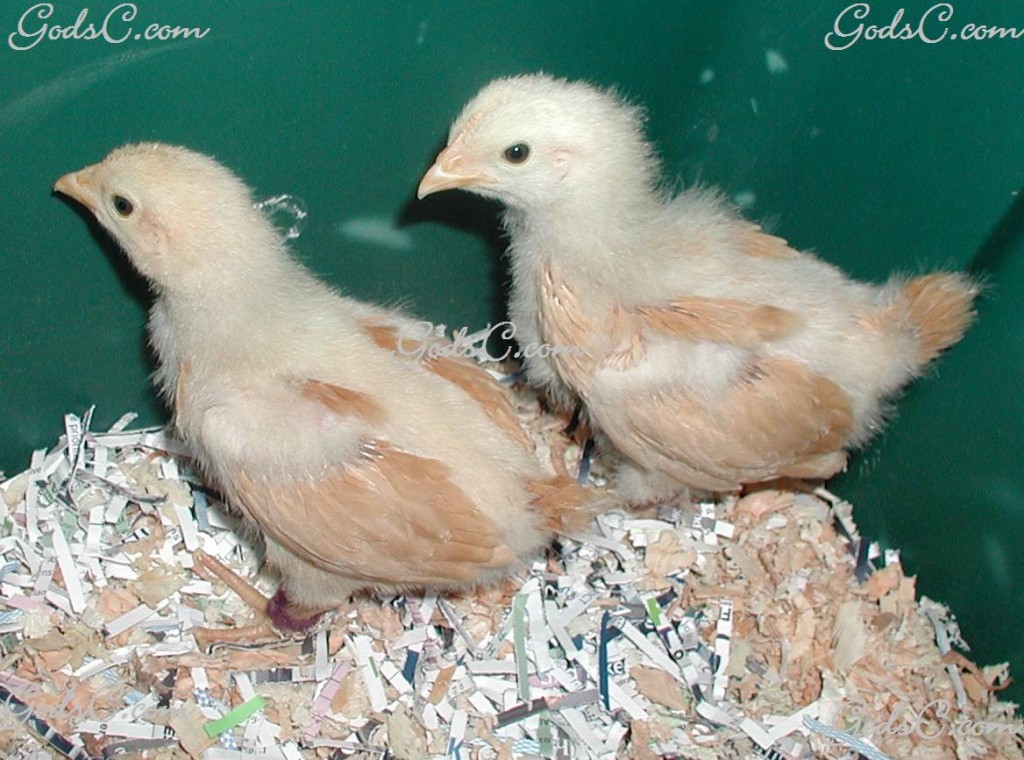
Baby chickens are called chicks. They are very cute, but too often children receive a chick as a pet, and often the chick dies because the child and parents do not know how to care for the chick properly. It is important to know how to care for the chick so that it will not die, but rather grow up into a healthy chicken and possibly lay eggs for you. A young female chicken is called a pullet. An adult female is called a hen. A young male chicken is called a cockerel. An adult male chicken is called a cock or rooster. There are many different breeds of chickens. The colors and patterns of chicks will change greatly when they lose their fluffy down and get feathers. Chicks are used for egg production, meat, and pets. Some breeds of chickens produce more eggs than others, some are better for their meat than others, and then there are the cute little Bantam and Silkies that can make great pets. Look into the breed you are considering and don’t just go out and buy some chicks because they looked cute.
What is a Brooder?
A brooder is a heated area or enclosure for raising young fowl. It provides an optimum environment in which heat, light, food, and water can be carefully controlled. You will need to setup a brooder for your chicks before you bring them home. If you don’t have a nice warm brooder waiting at home for your chicks, they will not have a good start at life as they will have to sit and get cold while waiting for you to set up after arriving home.
Housing for your chicks:
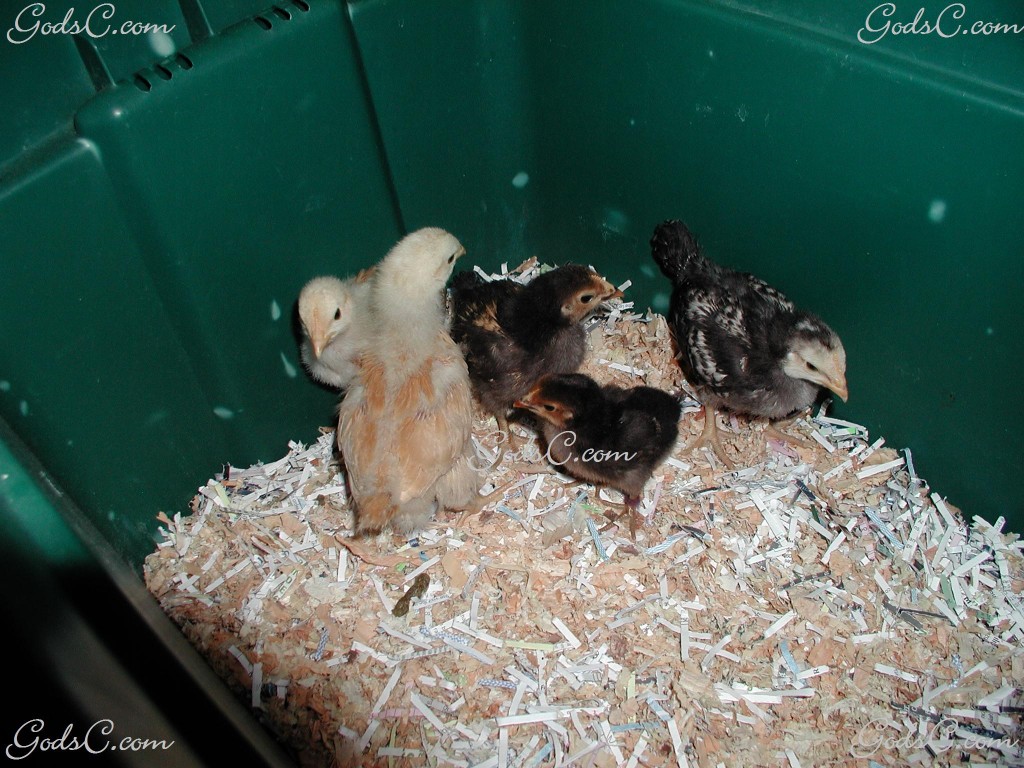
Large plastic buckets/tubs make a great brooder for your chicks. Class tanks or livestock troughs can work too. We do not recommend cardboard boxes as they can pose a fire hazard with the heat bulb. Also cardboard boxes are harder to clean and they absorb moister and can mold. Whatever you choose for your brooder, make sure it is a foot or two tall so they can not escape (the taller the better). As the chicks get bigger you can use chicken wire or some sort of wire mesh to make a lid. If you are using a plastic storage tub, you can take the original lid and cut out the center, leaving 1-3 inches on the rim and cover this hole with chicken wire/mesh. Use caution that you cut enough of the lid out to allow plenty of air to enter and heat to exit from the lamp (heating is expounded upon below). It is best to keep the brooder in the house as the climate outside may be too hot or get too cold. Depending on where you live and the time of year, you may be able to use your garage or shed. But be very careful as the chicks are fragile and could die if they get chilled or over heated! As the chicks grow you may need more space for them depending on how many you have in the brooder and how big the brooder is. When the chicks are around 4-6 weeks they may be ready to be move outside to a pen that is completely enclosed with a top depending on your climate. If you live where it snows (and you are in winter) you should wait longer before placing the chicks outside; unless you give them a heat lamp and have a well sheltered barn/coop. If you already have existing chickens they may not accepted the new chicks. Some flocks will even kill new members. It is best to have a separate pen for the chicks that you can place next to your existing chickens so they can become acquainted with the chicks. After a few weeks you can try introducing the chicks into your flock. Read our other care info on how to introduce new chickens to your flock.
Heating:
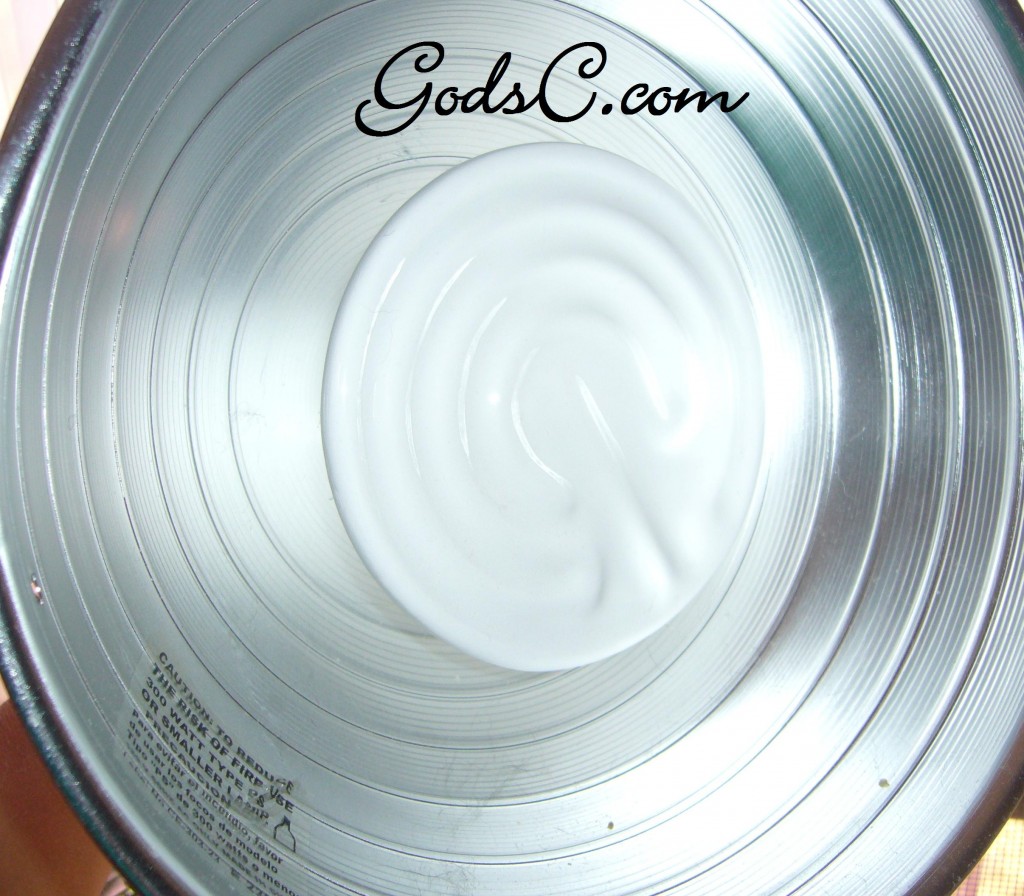
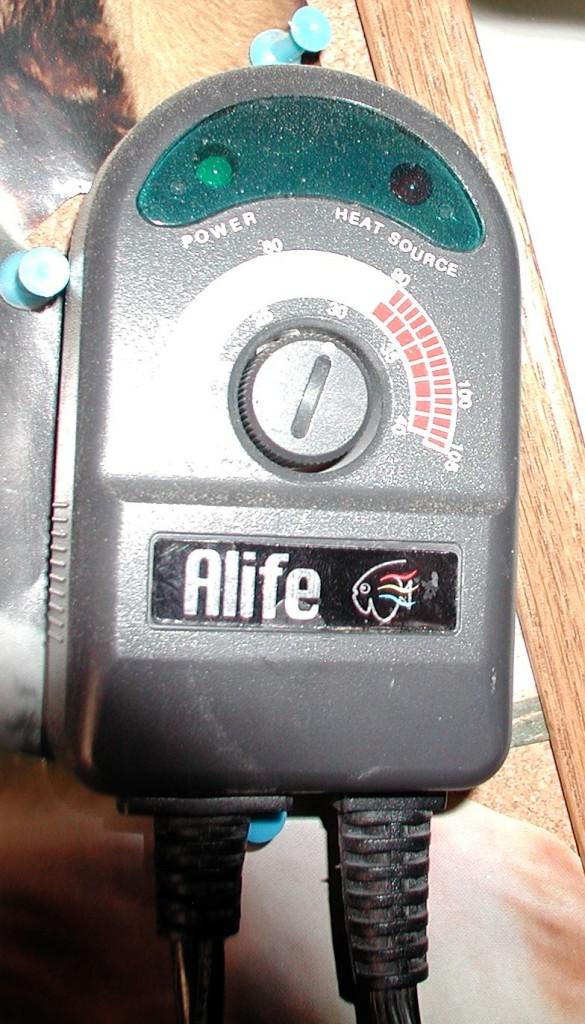
When chicks are hatched by a hen, the hen will look after the chicks and keep them warm. But for chicks that you buy at stores, they do not come with a mamma hen. It is very important to provide your chicks with a heat lamp at all times until they are around 4-6 weeks. The temperature should be around 95° for chicks between the ages of 1-7 days old. Place a heat lamp at one end of the brooder this will ensure that the chicks can get away from the heat if they get too hot. Often chicks die in the brooder because people use a heat lamp in the center of a small brooder thus trapping the chicks directly under the heat bulb. A 60 watt heat bulb is often a good choice. Place the heat lamp about 18 inches from the floor of the brooder. You can raise or lower the lamp if you think the chicks are too hot or cold. If the chicks are hot they will stay as far away as possible from the lamp, which indicates that you should raise the lamp. If the chicks are always under the lamp, you should lower the heat. Depending on what wattage bulb you use and the surrounding temperature, will determine how close or far it needs to be. After the chicks are one week old start decreasing the heat by 5 degrees every week. You can use a reptile heat controller (See photo below) to do this or raise the lamp about 1 inch every week. When the chicks are about 4-6 weeks old they will no longer require the heat lamp. If it is winter when the chicks are ready to go outside you can give them a heat lamp at night or all the time depending how cold it is. If you fear the chicks will still be too cold at night outside, you can be on the safe side and bring them in every evening for a few weeks.
Bedding:
For bedding in the brooder you can use shavings from the feed store or you can use paper shreds from your shredder as long as there are no staples in the paper shreds. It is also a great idea to lay down a layer of newspaper under the bedding to help make clean up a little easier. If your chickens are in a brooder that has a wire bottom you will not need bedding as the waste from the chicks will drop down.
Cleaning:
The bedding will need to be changed every 1-3 days and the brooder should be washed and dried. The more chicks you have and the bigger they get, the more cleaning you will need to do. If you have a large brooder with only a few chicks then you may only need to clean the brooder every 5 days. Something to look out for is, often the bedding gets into the water and the water leaks out making a big mess and when this happens you must clean the brooder by remove all the wet bedding.
Water Dish:
Chicks and chickens are messy birds and this can be a problem with water. Chicks need clean water to stay healthy and hydrated. Also chicks can easily drown in water dishes that are just a few inches deep. The best thing to do is buy specially made chick waters at the feed store. As the chicks grow and become about 5 days old it will help to raise the water up a little so the bedding and poo does not get into the water. You can use a small brick or something to boost the water dish up as the chicks continue to grow. Just make sure that whatever you use to raise the water is sturdy so the water does not get tipped over and injure the chick! Also be sure that the chicks are able to reach the water. Lastly do not place the water dish directly under the heating lamp otherwise it will become to warm for the chicks to drink and evaporate too fast.
Water:
You can ad vitamins/electrolytes to the chick’s water. Or if your new chicks seem very stressed, when you get them, you can ad 3 tablespoons of sugar to 1 quart of water to give them extra energy. It is always a good idea to show your chicks where the water is by dipping their beaks in gently. Another way to show them is dipping your finger into the water. Normally the mamma hen would teach the chicks to drink by example but without a mamma hen you get to teach them. Often it is the smaller chicks that need the most help and you may need to show them multiple times. For older chicks (over 1 week) you should not have a problem. If you have a big brooder you should place water in 2 or more places.
Food Dish:
It is natural for chicks to scratch in the bedding for food but they will also do it in the feed dish. This is why you see those feeders with oval holes. The holes are just big enough for the chicks to put their heads in but small enough to prevent them from scathing the feed out. It is best to buy chick feeders for the food and to not use open dishes because the chicks will scratch it all out and waste it. If your chicks are under a week old it is better to use a shallow open dish until they are eating good. Just like up above in the water dish section; eventually you will need to raise the feeder up to keep the bedding from falling in. We use wire, one on both ends of the feeder and string it up. You can hook it on the side of the brooder by bending down the top of the wire over the side or if you have a mesh lid hang it from that. It is best not to place the food dish next to the water because the food will get in the water and make it dirty. Do not put the food dish directly under the heat lamp either because it is metal and will heat up fast.
Food:
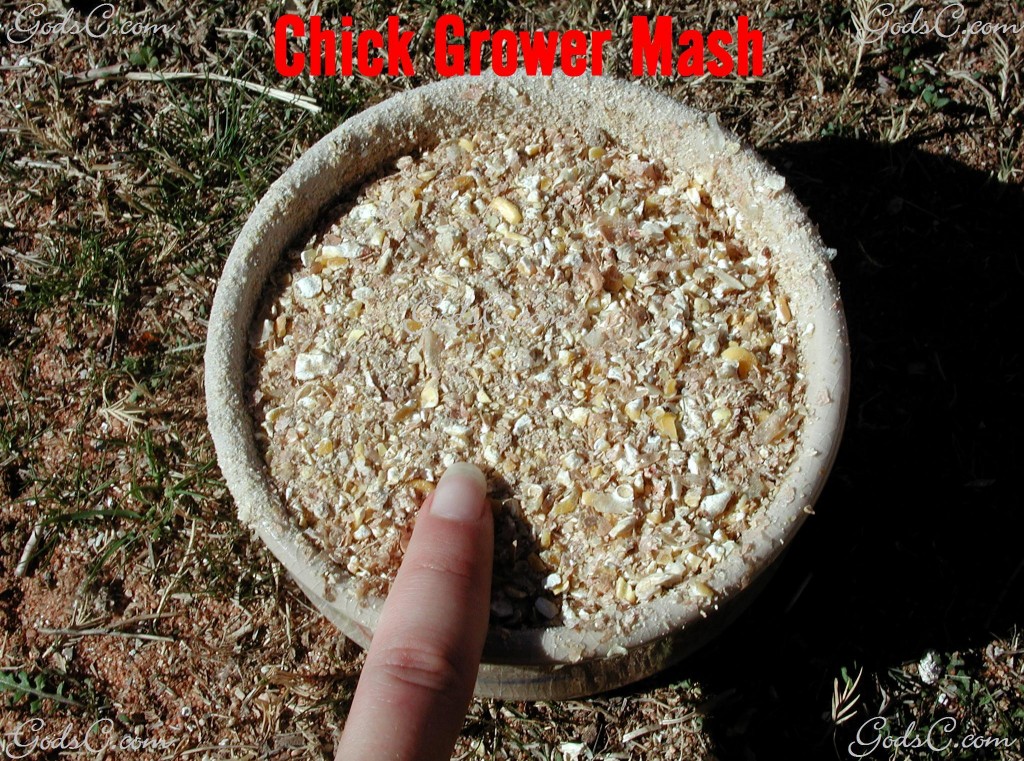
There are 3 different types of food your chicks will need. The first feed your chicks will need is called chick start. You will need to feed this to them until they are fully feathered and are a few weeks old. The second feed is grower. You can feed this to them until they are about 4-6 months. The third feed is lay feed. You can give lay feed to them at 4-6 months old through the remainder of their life. Lay feeds can come in pellet, crumble, or mash form. Whenever you change over the feed it is best to do it gradually by adding the new feed to the old. It is not necessary to do this as all three feeds have a lot of the same ingredients but it’s not a bad idea to change it gradually. You can read and follow the instructions on the feed’s bag to know exactly when to switch from chick start to grower and then lay feed. Every brand of feed is a little different.
What form of food to feed:
Again there are three forms that the feeds come in: pellet, crumble, and mash form. What we personally like to do, is feed the chick start, in mash form because it is easier for the tiny chicks to break down to digest. When the chicks are ready for grower we feed it in a mash or a crumble. For the lay feed we always feed it in the pellet form. We use to feed the lay mash to our chickens because it was cheaper. We later learned that the birds wasted about a third of the mash because it was a little too powdery. The chickens would pick out the bigger pieces and the rest would get kicked out of the feeder. The mash was just too fine for the big birds and it would get mixed in the poo and they would not eat it. So in the end, the pellets were the better way to go and our chickens lay more eggs on it compared to the mash. One last thing about the lay pellet, it is possible for the chicken to choke on the pellet but it is rare. With the 100’s of chickens we’ve owned, over the last several years, we only had two chickens have a problem with the pellets.

Great info. Thanks!!
Hello Kerah,
To answer your first question about when you can see the embryo, my eggs have been in the incubator 13 days and yesterday I check some of the eggs and I could see them moving. Also I candled them at 5 days old and I could see some of them moving. It just depends on how bright your light is and if the chick happens to be active at the time you candle the egg.
You are correct about the temperature for the chicks. After the chicks are dry or almost dry remove them from the incubator, and place them in the brooder with the temperature set at 95 degrees Fahrenheit. When the chicks are 1 week old turn the temperature down to 90 degrees Fahrenheit. Then every week after continue to decrease it by 5 degrees.
I have 6 chickens at the moment of which 5 are hens and 1 rooster, I have 40 eggs in the incubator at the moment that are about 8 days old. I candled some and I can see the embryo! How many days do you think it will be until I can see the embryo move? Also My brooder is a wire cage with a heat lamp, Everything I read tell me to decrease the temp five degrees each week so when they hatch as newborns should it be at 95 then after a week do I drop it 5 more so 9o and then again after that week? Thank for all the great info!
Hi Jim,
Take a look at our care page on chickens to see a photo of our hen house https://godsc.org/care-guides/chicken/. I like hen houses that have a door/flap that you can lift up to get the eggs out. You can Google chicken coops and look at photos to get more ideas.
I plan to build a small chicken coop for three or so hens. I have a small yard and would like to get some ideas on the best kind of coop for them. Do you have any ideas? Thanks for any advice. Hope you have a very pleasant weekend.
Thank you for all of the great information. I live in Apple Valley as well and would like to start raising chickens, but I want to do my research first, your site was very helpful. Thank you!